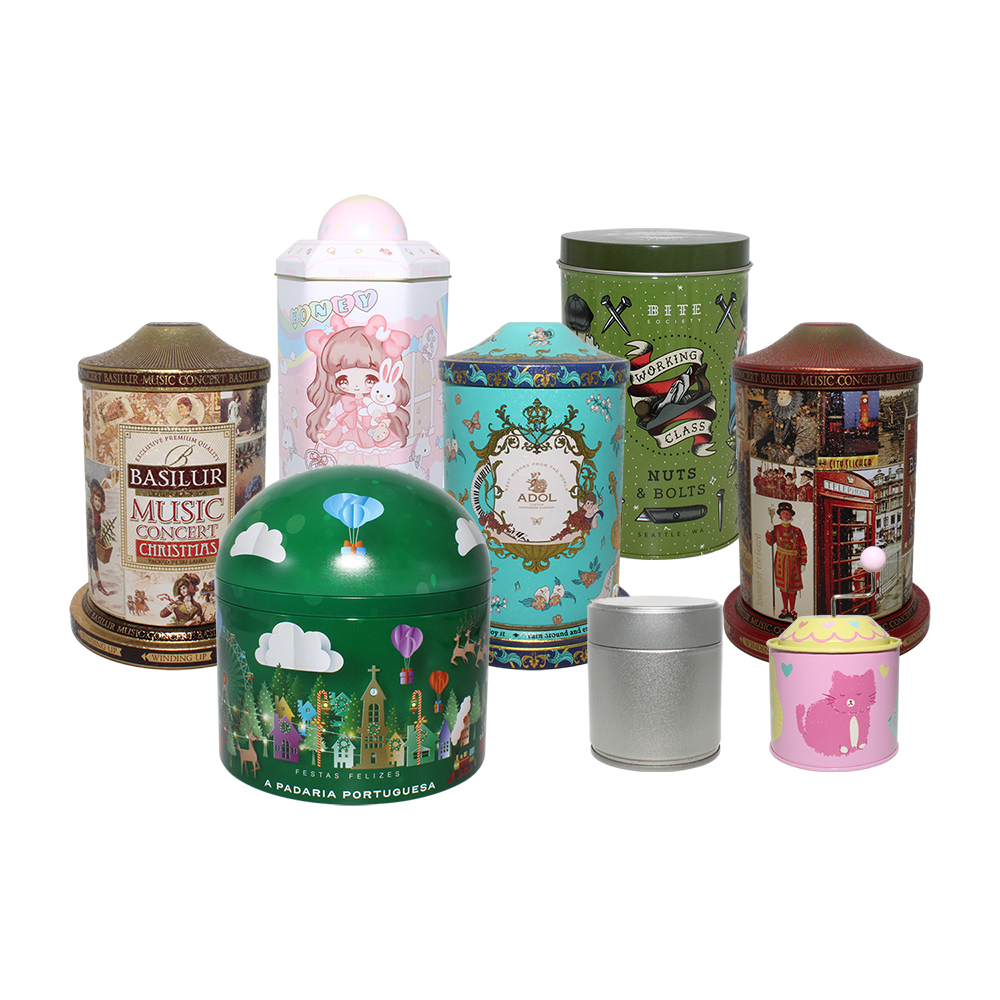
Can You Make a Candle in a Tin Can?
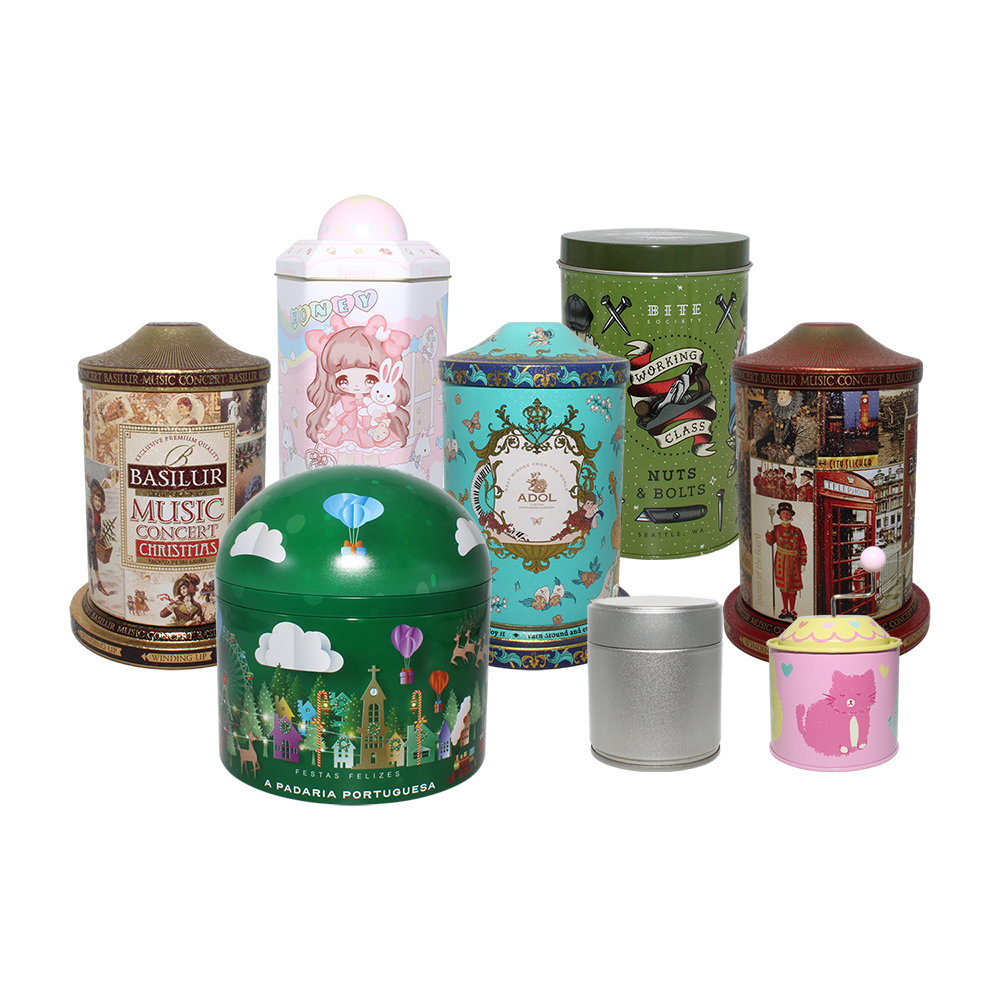
Can You Make a Candle in a Tin Can? Yes! Here's Your Easy Step-by-Step Guide
If you've ever stared at an empty tin can (think coffee cans, soup cans, or even Altoids tins) and wondered, “Can you make a candle in a tin can?”—the answer is a resounding YES! Tin cans are perfect for DIY candles: they're sturdy, heat-resistant, and often free (hello, upcycling!). Whether you're a candle-making beginner or a seasoned crafter looking for a simple project, making a candle in a tin can is fun, affordable, and customizable. Plus, it's a great way to repurpose household items and add a cozy, handmade touch to your home (or gift a thoughtful creation to a friend). Best of all, it requires no advanced skills—just a few basic supplies and a little patience.
In this blog, I'll break down everything you need to know—from gathering supplies to adding personal flair, plus extra tips to avoid common mistakes—so you can confidently make your own tin can candle. Let's dive in!

First: Why a Tin Can? The Perks of Tin Can Candles
Before we get to the “how,” let’s talk about the “why.” Tin cans aren't just a convenient vessel—they have some serious advantages for candle making that make them stand out from glass jars or ceramic containers:
-
Affordable & Accessible: You probably have empty tin cans at home (coffee, soup, cat food, or tuna cans work great!). No need to buy expensive candle jars—just repurpose what you already have. Even if you don't have any on hand, basic tin cans are cheap and easy to find at grocery stores.
-
Heat-Resistant & Safe: Tin is metal, so it can handle the heat of melted wax without cracking (unlike some fragile glass jars that might shatter if exposed to sudden temperature changes). Just make sure the can is clean and free of sharp edges—this is crucial to avoid cuts while handling.
-
Versatile: Tin cans come in all sizes—from tiny Altoids tins (perfect for mini emergency candles or party favors) to large coffee cans (great for bigger, longer-burning candles that last for hours). You can also decorate them easily to match your style, whether you prefer a rustic, modern, or bohemian look.
-
Eco-Friendly: Upcycling tin cans keeps them out of landfills and turns waste into something useful. It's a small step toward sustainable crafting, and it feels great to give new life to an item that would otherwise be thrown away.

What You'll Need (Gather These Supplies First)
You don't need fancy tools to make a tin can candle—most supplies are easy to find at craft stores, online, or even in your kitchen. Here's your checklist (adjust quantities based on the size of your tin can; we'll use a standard 12-oz soup can for reference):
-
1 clean, empty tin can (remove labels and wash thoroughly with warm, soapy water; dry completely—wax and water don't mix, and even a small amount of moisture can cause the wax to bubble or crack!)
-
Candle wax (soy wax flakes are best for beginners—eco-friendly, clean-burning, and easy to melt; paraffin or beeswax work too, but soy wax is less messy and has a longer burn time)
-
Candle wick (cotton wicks are standard; choose a size based on your can's diameter—for a 12-oz can, a #2 or #3 wick works best; too small = poor burn (the wax won't melt evenly), too large = fast burn and sooty flame)
-
Wick anchor (or hot glue) to keep the wick centered at the bottom of the can—wick anchors are cheap and easy to use, but hot glue works in a pinch (just make sure it's fully dry before adding wax)
-
Double boiler (or a heat-safe bowl set over a pot of water—never melt wax directly on the stove! Direct heat can cause the wax to overheat, smoke, or even catch fire)
Candle thermometer (optional but helpful—prevents overheating the wax; aim for 160–185°F/70–85°C; overheating can damage the wax's scent and burn quality)
-
Fragrance oil or essential oil (optional—for scented candles; use oils designed for candle making for the best scent throw—regular essential oils can burn off quickly and won't smell as strong)
-
Candle dye (optional—for colored candles; wax dye chips work better than liquid food coloring, which can make the wax clumpy and affect the burn)
-
Scissors (to trim the wick—sharp scissors work best to get a clean cut)
-
Clothespins, popsicle sticks, or pencils (to hold the wick straight while the wax cools—this is key to ensuring the wick doesn't lean to one side)
-
Optional extras: Twine, paint, stickers, dried flowers, or cinnamon sticks (for decorating your tin can)

Step-by-Step: How to Make a Candle in a Tin Can
Now, let's get to the fun part! Follow these simple steps, and you'll have a beautiful tin can candle in no time. This process takes about 30–45 minutes (plus cooling time), so grab your supplies and let's craft. We'll include extra tips in each step to help you avoid common mistakes.
Step 1: Prep the Tin Can
Start by cleaning your tin can thoroughly with warm, soapy water. If there's a label, soak the can in warm water for 5–10 minutes to peel it off easily—this helps hot glue (if using) stick better later and gives you a smooth surface for decorating. Dry the can completely with a towel—any moisture will ruin the wax, causing it to bubble or not set properly. If the can has sharp edges (from opening it), use fine-grit sandpaper to smooth them out for safety—you don't want to cut your fingers while handling the can or pouring wax.
Step 2: Secure the Wick
Take your wick and attach a wick anchor to the bottom (follow the anchor's instructions—most just snap onto the wick base). If you don't have an anchor, use a small dot of hot glue to stick the wick's base to the center of the can's bottom. Press firmly and let the glue dry for 1–2 minutes (rushing this step can cause the wick to move when you pour the wax). Then, stretch the wick up and use a clothespin or pencil laid across the top of the can to hold it straight—this ensures the wick stays centered as the wax cools (a lopsided wick will burn unevenly and may even tip over).
Step 3: Melt the Wax
Set up your double boiler: fill a pot with 1–2 inches of water and bring it to a simmer (not a boil—boiling water will make the wax overheat). Place your wax in a heat-safe bowl or another tin can (recycle another one!) and set it inside the pot. Stir the wax occasionally with a spoon until it's completely melted—this usually takes 5–10 minutes. If using a thermometer, heat the wax to 160°F/70°C—this is the ideal temperature for adding fragrance and dye. If you don't have a thermometer, heat until the wax is smooth and no lumps remain, then turn off the heat (if the wax starts to smoke, it's too hot—remove it from the heat immediately and let it cool slightly).
Step 4: Add Scent & Color (Optional)
If you want a scented candle, add 10–15 drops of fragrance or essential oil per cup of melted wax. Stir well for 30 seconds to distribute the scent evenly—fragrance oils designed for candles work best, as they blend better with wax than regular essential oils and have a stronger, longer-lasting scent. For color, add a small amount of wax dye (start with a pinch—you can always add more!) and stir until the color is uniform. Avoid liquid food coloring, as it can make the wax clumpy and won't mix well with the wax (it may even sink to the bottom of the can).
Step 5: Pour the Wax
Carefully pour the melted wax into your prepared tin can—pour slowly to avoid splashing hot wax. Leave about ½ inch of space at the top (this prevents overflow when the wax cools and contracts, which is normal). Take a moment to adjust the wick—make sure it's still centered and straight. If you notice any air bubbles, gently tap the side of the can with a spoon to release them (bubbles can leave holes in the wax surface, but tapping will help them rise to the top).
Step 6: Let It Cool & Trim the Wick
Let the candle cool undisturbed for 4–6 hours (or overnight) until the wax is completely solid. Don't rush this step—slow cooling ensures the wax sets smoothly and the wick stays in place (cooling too quickly, like in the fridge, can cause the wax to crack). Once solid, remove the clothespin/pencil and trim the wick to ½ inch with scissors. This prevents the flame from being too large when you light it (a long wick can cause a sooty flame and burn the candle too fast).
Step 7: Enjoy Your Handmade Tin Can Candle!
Light your candle, sit back, and enjoy the warm glow and cozy scent. Your tin can candle is ready to use—perfect for a cozy night in, a bathroom spa moment, or as a charming decor piece. If you decorated the can, show it off! It also makes a thoughtful, handmade gift for friends or family.

Pro Tips for Perfect Tin Can Candles
Even beginners can make a great candle with these simple tips—we've added extra details to help you avoid common pitfalls and make your candle look and burn perfectly:
-
Prevent “Sinkholes”: If the wax sinks in the center as it cools (a common issue!), reheat a small amount of wax and pour a thin layer over the top to fill the hole. This will give your candle a smooth, even surface.
-
Speed Up Cooling (Safely): For emergency candles, you can place the can in the freezer for 10–15 minutes to speed up the cooling process (just don't leave it too long—freezing can cause the wax to crack). For regular candles, let them cool at room temperature for the best results.
-
Decorate the Can (Easy Ideas): Personalize your candle with these simple decor ideas: Wrap twine around the can and tie a bow, paint the can with acrylic paint (let it dry completely before adding wax), glue on dried flowers or cinnamon sticks for a rustic look, or add a custom label with a handwritten message (great for gifts). For a modern touch, use metallic paint or stencils to add designs.
-
Emergency Use: Tiny tin cans (like Altoids tins) make great emergency candles—add multiple wicks, matches, and strikers inside for a handy backup light during power outages. You can also add a small layer of wax to hold the matches in place.
-
Burn Safely (Critical!): Never leave a lit candle unattended—this is the most important safety rule. Place it on a heat-resistant surface (like a ceramic coaster or trivet), keep it away from flammable objects (curtains, paper, fabric), and trim the wick to ½ inch before each use. Keep candles out of reach of children and pets, and never burn a candle all the way down to the bottom (stop burning when there's ¼ inch of wax left to avoid overheating the can).
-
Fix a Leaning Wick: If your wick leans to one side while cooling, gently straighten it with a pair of tweezers while the wax is still slightly soft (not fully solid). This will help it burn evenly later.
-
Make It Last Longer: To extend the life of your candle, burn it for 2–3 hours each time you light it (this allows the wax to melt evenly across the surface, preventing “tunneling” where the wax burns only in the center).

Final Thoughts: Yes, You Can (and Should!) Make a Candle in a Tin Can
So, to answer the question “Can you make a candle in a tin can?”—absolutely! It’s a simple, affordable, and creative project that anyone can do, even if you've never made a candle before. Whether you're repurposing old cans, making a last-minute gift, or just want to add a handmade touch to your home, tin can candles are a fantastic choice.
The best part? You can customize every detail—scent, color, size, and decor—to make it uniquely yours. Plus, it's a fun activity to do with kids (with adult supervision, of course!) or as a relaxing solo craft. So grab an empty tin can, gather your supplies, and start crafting. You'll be amazed at how easy and rewarding it is to make your own candle.
Have you ever made a tin can candle? Share your tips or photos in the comments below—I'd love to see your creations! And if you run into any issues, feel free to ask—I'm here to help.

Tin Boxes for Gifts: The Perfect Blend of Elegance, Functionality, and Sustainability
How to Keep Biscuits Fresh in a Tin?