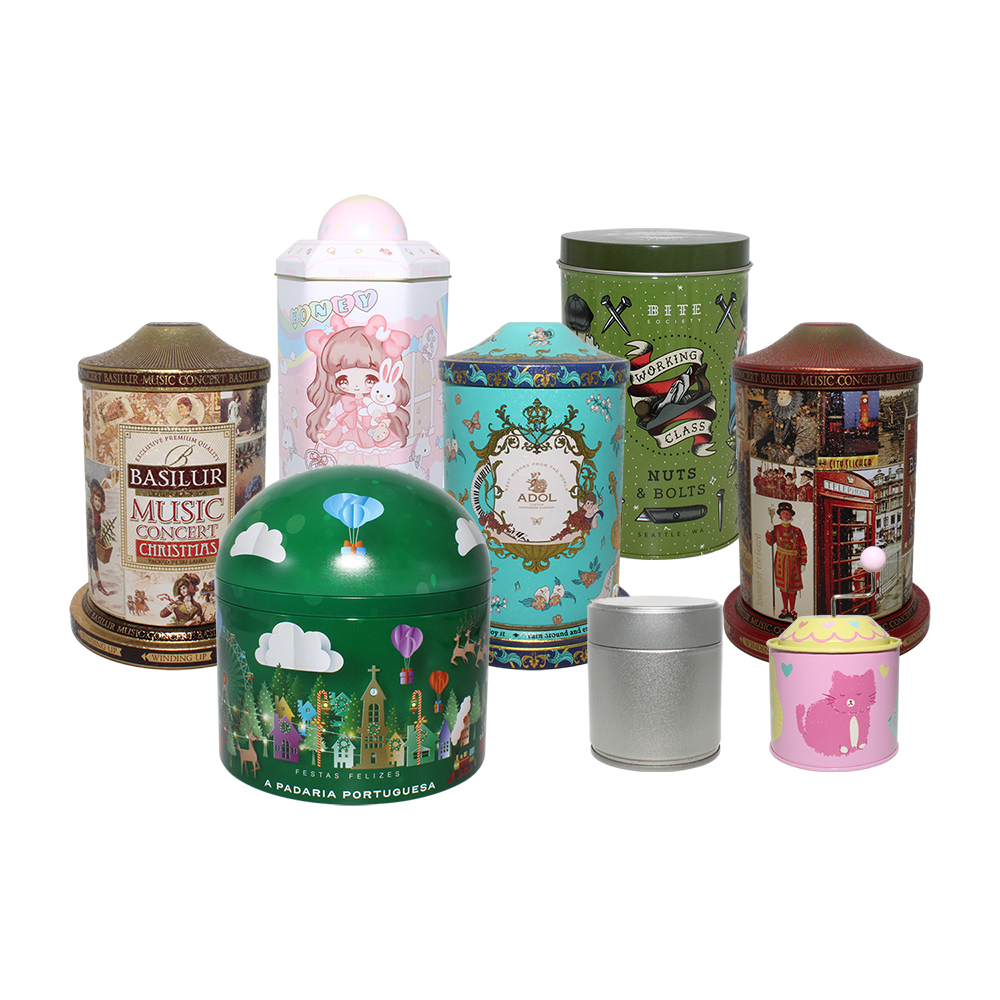
How to Make a Tin Box?

How to Make a Tin Box: A Step-by-Step Guide for Beginners & Crafters
There's something uniquely satisfying about crafting your own tin box—sturdy, customizable, and built to last. A handcrafted tin box is more than just a container; it's a functional work of art. Whether you're a DIY beginner searching for a fun, approachable project, a crafter looking to expand your skills, or someone who loves sustainable, reusable items, learning how to make a tin box is simpler than you might think. Unlike fragile plastic containers or flimsy cardboard boxes, tin boxes are durable, recyclable, and perfect for storage, gifting, or home decor. In this comprehensive guide, we'll walk you through every step—from gathering supplies to adding final touches—with clear instructions and pro tips to ensure success, no advanced tools or experience required.
Why Make Your Own Tin Box? (The Perks of Handcrafted Tin Containers)
Before we dive into the step-by-step process, let's explore why making a tin box is such a worthwhile project. Tin boxes have stood the test of time for good reason, and crafting your own adds even more value:
-
Durability: Tin is sturdy, rust-resistant (when properly sealed), and built to withstand daily use—perfect for long-term storage or frequent handling.
-
Customization: When you make a tin box yourself, you control every detail—size, shape, finish, and design—so it fits your exact needs, whether it’s a small jewelry tin or a large storage box.
-
Sustainability: Tin is 100% recyclable and reusable, making handcrafted tin boxes an eco-friendly alternative to single-use plastic or disposable containers.
-
Versatility: A homemade tin box can be used for nearly anything—storing jewelry, office supplies, tea, snacks, or craft materials—or as a personalized gift box.
-
Fun & Rewarding: Crafting a tin box is a hands-on, relaxing project that leaves you with a sense of pride—there's nothing like using or gifting something you made yourself!

What You'll Need: Supplies for Making a Tin Box
The best part about making a tin box is that you don't need fancy or expensive tools. Most supplies are easy to find at craft stores, hardware stores, or online. Below is a complete list of what you’ll need, including optional items for customization:
Essential Supplies (Must-Have)
-
Tin sheets (tinplate): The star of the project! Choose thin, flexible tin sheets (0.2-0.3mm thick)—they're easy to cut and bend, so avoid thick metal that’s hard to manipulate. We recommend starting with a 12x12-inch sheet for small to medium-sized boxes.
-
Tin snips or heavy-duty scissors: Designed for cutting metal—tin snips are ideal (they're made for metal cutting), but heavy-duty scissors will work for thinner tin sheets.
-
Ruler and pencil: For accurate measuring and marking—precision here ensures your box fits together neatly.
-
Bending tool (or a sturdy ruler): To create clean, straight 90-degree bends in the tin. A metal bending tool is great, but a thick, rigid ruler or wooden block works in a pinch.
-
Glue or solder (for sealing): Opt for a strong metal glue (like E6000 or epoxy) for a beginner-friendly option. If you have soldering experience, soldering creates a more permanent, seamless seal.
-
Sandpaper (fine-grit, 220 grit): To smooth sharp tin edges—safety first!
-
Clamps or tape: To hold tin pieces together while glue dries (or while soldering).
Optional Supplies (For Customization)
-
Primer and paint: Acrylic paint or spray paint works best for metal—primer helps the paint adhere better and stay vibrant.
-
Stencils, stickers, or decoupage paper: For adding designs, patterns, or personal touches to your tin box.
-
Ribbon, lace, or charms: For embellishments that add personality.
-
Wooden knob: To add a functional, stylish handle to the lid (perfect for storage boxes).
-
Clear sealant (Mod Podge or spray sealant): To protect painted or decorated surfaces from scratches and wear.

Step-by-Step Guide: How to Make a Tin Box
Now, let's get to the fun part! We'll make a simple, rectangular tin box with a lid—the easiest shape for beginners. Follow these steps carefully, and you'll have a beautiful tin box in no time.
Step 1: Measure and Cut the Tin Sheet (The Base, Sides, and Lid)
First, you'll need to cut the tin sheet into pieces for the box’s base, sides, and lid. We've included 3 ready-to-use size templates below (small, medium, large) so you can skip the guesswork—just adjust the measurements if you need a custom size. We'll break down each part (base, sides, lid) clearly to keep the process simple.
•Base: Mark a rectangle using the following measurements: Small (4 inches length x 3 inches width), Medium (6 inches length x 4 inches width), Large (8 inches length x 6 inches width).
•Sides: Mark the four side rectangles (attached to the base) with a 1/4-inch “tab” on each end to help attach the sides together: - Long sides (2 total, same as base length x box height): Small (4x2 inches), Medium (6x3 inches), Large (8x4 inches) - Short sides (2 total, same as base width x box height): Small (3x2 inches), Medium (4x3 inches), Large (6x4 inches)
• Lid: Mark the lid—slightly larger than the base (add 0.25 inches to both length and width) with a 1/2-inch lip to stay secure: Small (4.25x3.25 inches), Medium (6.25x4.25 inches), Large (8.25x6.25 inches).
• Cutting: Use tin snips or heavy-duty scissors to cut out all the pieces, taking time for clean, straight cuts. Then smooth all edges with fine-grit sandpaper (tin can be sharp).
Step 2: Bend the Tin Pieces (Create the Box Shape)
Next, you’ll bend the tin pieces to form the box’s structure. Accuracy here is key—straight bends ensure the sides fit together neatly and the box looks polished.
-
Bend the tabs: Take the small 1/4-inch tabs on the ends of each side piece and bend them inward (toward the inside of the box) at a 90-degree angle. These tabs will overlap with the adjacent side, making it easy to glue or solder the sides together.
-
Bend the sides: Place the base piece on a flat surface. Using a bending tool or sturdy ruler, bend each side up along the line where the side meets the base. Aim for a 90-degree angle—use a right angle tool if you have one to ensure it’s straight. Repeat until all four sides are standing up, forming a rectangular frame.
-
Bend the lid: For the lid, bend the 1/2-inch lip downward at a 90-degree angle. This lip will fit over the top of the box, keeping the lid secure and in place.
Step 3: Assemble the Box (Glue or Solder)
Now it’s time to put the box together. Choose either glue (beginner-friendly) or solder (more permanent) based on your skill level and tools.
Option 1: Gluing (Beginner-Friendly)
-
Apply a thin, even layer of metal glue to the tabs on each side piece.
-
Press the tabs against the adjacent side piece, making sure the edges line up neatly. Use clamps or tape to hold the pieces together while the glue dries.
-
Let the glue dry completely (follow the glue’s instructions—most metal glues take 24 hours to fully cure).
Option 2: Soldering (More Permanent)
-
First, clean the areas where the tabs meet the sides—solder adheres best to clean metal.
-
Hold the tabs against the adjacent side, then use a soldering iron to apply solder along the seam. The solder will melt and bond the two pieces together.
-
Let the solder cool completely before moving the box—this ensures a strong, seamless bond.
Pro tip: After assembling, check for any gaps or uneven edges. If there are small gaps, apply a little extra glue or solder to seal them for a neat finish.
Step 4: Add the Lid (Final Assembly)
Once the box base is fully dry (or soldered), it’s time to add the lid. The lid should fit snugly over the top of the box—no need to glue it unless you want a permanent seal.
If you want a removable lid (most common), simply place it on top of the box—the 1/2-inch lip will keep it secure. If you prefer a hinged lid (more advanced), attach a small metal hinge to the lid and the back of the box using screws or glue.
Step 5: Smooth and Finish (Optional but Recommended)
After assembling the box and lid, take a few minutes to smooth any rough spots or sharp edges with fine-grit sandpaper. This makes the box safer to handle and gives it a polished, professional look.
Now’s the time to customize your tin box! Paint it with acrylic or spray paint (use primer first for better adhesion), add stencils or decoupage paper for patterns, or attach ribbon, lace, or a wooden knob to the lid. Finish with a clear sealant to protect the design from scratches and wear.

Pro Tips for Making a Tin Box (Avoid These Common Mistakes!)
-
Measure twice, cut once: Accurate measurements are key to a well-fitting box. Double-check your marks before cutting—mistakes here are hard to fix.
-
Wear gloves: Tin edges can be sharp, even after sanding. Wear work gloves to protect your hands while cutting and bending.
-
Start small: If you’re a beginner, begin with the small box template. It’s easier to handle and helps you get the hang of cutting and bending before moving to larger sizes.
-
Don’t rush drying/soldering: If using glue, let it dry fully (24 hours) to avoid the sides coming apart. If soldering, let the solder cool completely for a strong bond.
-
Embrace imperfection: Handcrafted tin boxes don’t need to be perfect! Small bumps or uneven edges add character and make your creation unique.

What to Do With Your Homemade Tin Box?
Now that you’ve made your own tin box, the possibilities are endless! Here are some fun, practical ways to use it:
-
Storage: Use it to store jewelry, earrings, necklaces, office supplies (paperclips, sticky notes), craft materials (buttons, beads), tea bags, coffee beans, or snacks. The sturdy tin keeps items safe and organized.
-
Personalized Gifts: Fill the tin box with homemade treats (cookies, candies), small gifts (lip balm, keychains), or a handwritten note for a thoughtful, reusable gift—perfect for birthdays, holidays, or any special occasion.
-
Home Decor: Use it as a centerpiece, a small planter (add drainage holes for succulents), a candle holder, or a decorative accent on a shelf. Paint it to match your home’s decor style—vintage, modern, bohemian, or minimalist.
-
Travel Organizer: A small tin box is perfect for storing travel essentials like earrings, pills, or charging cables—keep it in your purse or suitcase for easy access.
-
Brand Packaging: If you’re a small business owner, use custom-made tin boxes to package your products (jewelry, candles, snacks)—they’re eye-catching, eco-friendly, and memorable, helping your brand stand out.

Final Thoughts: Making a Tin Box Is Easier Than You Think!
Learning how to make a tin box is a fun, rewarding DIY project that anyone can tackle—no advanced skills or fancy tools required. With our step-by-step guide, ready-to-use size templates, and pro tips, you’ll create a sturdy, customizable tin box that’s perfect for storage, gifting, or home decor.
Whether you’re a beginner trying a new craft or a seasoned crafter looking for a simple project, making a tin box is a great way to unleash your creativity while creating something functional. So gather your supplies, follow the steps, and enjoy the pride of using or gifting something you made yourself. Happy crafting!

How Long Does Tea Last in a Tin?
Are Metal Cans Recyclable?