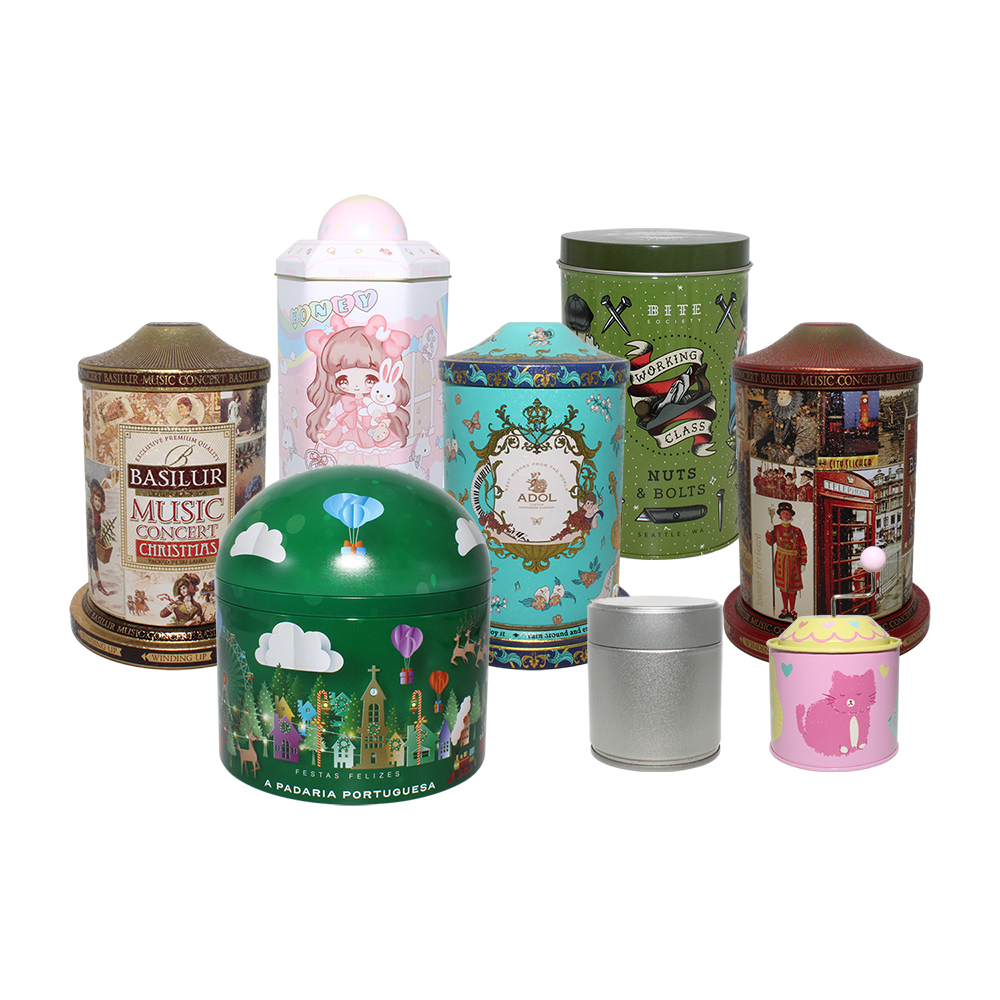
How to Print on Tin Cans: A Step-by-Step Guide for Perfect Results
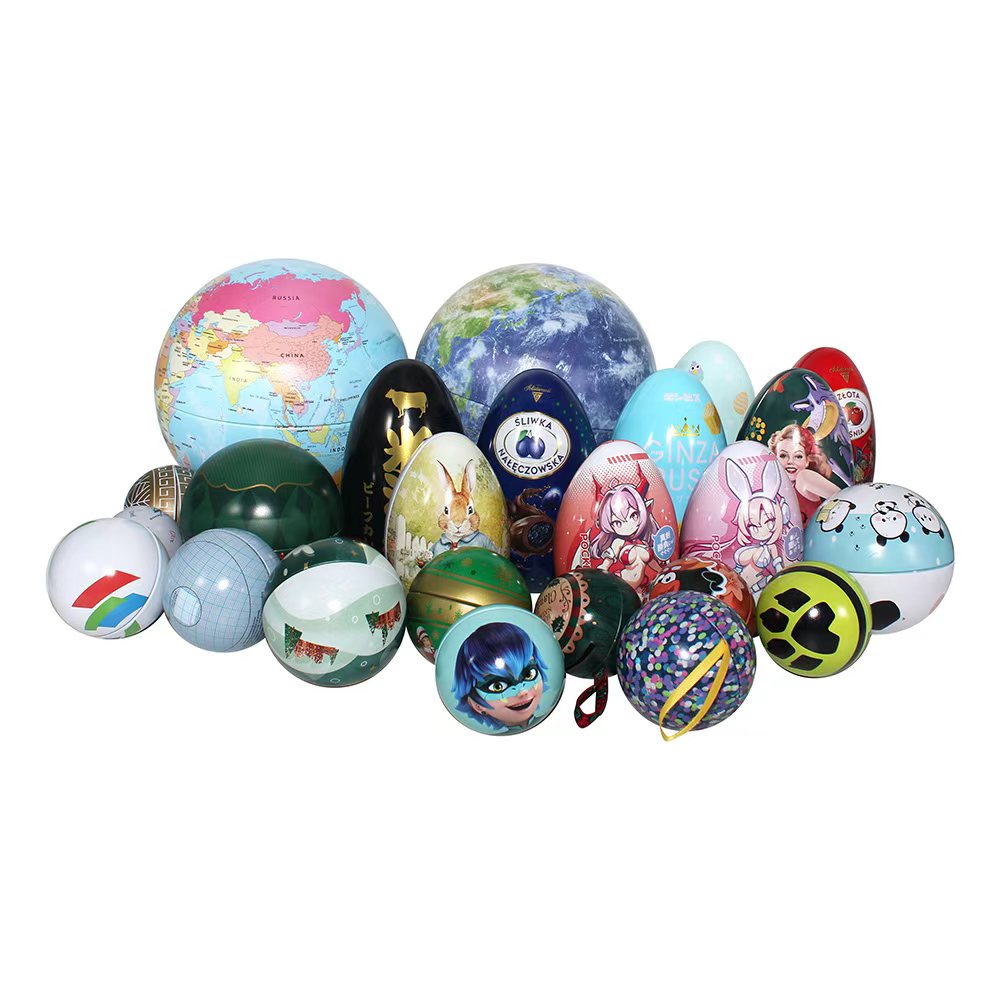
How to Print on Tin Cans: A Step-by-Step Guide for Perfect Results
Printing on tin cans is a fantastic way to elevate your packaging, create custom gifts, or add a personal touch to DIY projects—whether you’re a small business owner looking to brand your products or a craft enthusiast wanting to get creative. Unlike paper or plastic, tin cans are a rigid, metallic surface that requires specific preparation and techniques to ensure your print is vibrant, durable, and long-lasting. In this guide, we’ll break down the entire process of printing on tin cans, from prepping the surface to choosing the right tools and finishing touches. Let’s dive in!

Step 1: Gather Your Supplies & Choose the Right Tin Can
Before you start printing, it’s crucial to have the right tools and materials. The quality of your supplies will directly impact the final result, so don’t cut corners here. Here’s what you’ll need:
-
Tin Cans: Opt for clean, smooth tin cans (aluminum or steel) with no dents, scratches, or rust. Empty food cans (like soup or coffee cans) work great for DIY projects, but for professional results, use food-grade, pre-treated tin cans (these are free of coatings that might interfere with printing).
-
Cleaning Supplies: Dish soap, warm water, a soft cloth, and rubbing alcohol. You’ll need to remove all grease, residue, and labels from the can’s surface.
-
Printing Method Supplies: Choose a printing method that fits your needs (we’ll cover options below). Common supplies include: screen printing kit (screen, ink, squeegee, emulsion), digital heat transfer paper, heat press, specialty metal paint markers or acrylic paint (for hand-printing), and spray primer (for better ink adhesion).
-
Finishing Supplies: Clear acrylic sealer (spray or brush-on) to protect the print from scratches, fading, and moisture.
Pro Tip: If using recycled tin cans, make sure to remove the inner lining (if present) and dry the can completely—any moisture will ruin the ink adhesion.

Step 2: Prep the Tin Can Surface (The Most Important Step!)
Tin cans have a smooth, non-porous surface, which means ink won’t stick well unless you properly prepare it. Skipping this step will result in smudged, peeling print—so take your time here.
-
Clean Thoroughly: Fill a sink with warm water and dish soap. Use a soft cloth to scrub the can’s surface, removing all labels, glue, grease, and dirt. For stubborn glue residue, soak the can in warm water for 10-15 minutes, then scrub again. Rinse the can thoroughly and dry it with a clean cloth.
-
Degrease: Even if the can looks clean, there may be invisible grease (from manufacturing or handling). Dampen a cloth with rubbing alcohol and wipe the entire surface of the can. This removes any remaining oils and helps the primer/ink adhere better. Let the alcohol dry completely (about 5-10 minutes).
-
Prime (Optional but Recommended): For a smoother finish and better ink coverage, apply a thin coat of spray primer designed for metal. Hold the spray can 6-8 inches away from the tin and spray evenly, covering the entire surface you plan to print on. Let the primer dry completely (follow the manufacturer’s instructions—usually 30-60 minutes).

Step 3: Choose Your Printing Method (DIY vs. Professional)
The best printing method for your tin can depends on your budget, the number of cans you’re printing, and the level of detail you want. Here are the three most common methods, from easiest to most professional:
Method 1: Hand-Printing (Best for DIY/Craft Projects)
This method is perfect for small batches or one-of-a-kind projects. It’s simple, affordable, and requires minimal tools.
-
Sketch your design on paper first, then transfer it to the tin can using a pencil (light pressure so you don’t scratch the surface).
-
Use specialty metal paint markers or acrylic paint (mixed with a small amount of metal primer to improve adhesion) to fill in your design. Apply thin, even coats—thick paint will drip or crack as it dries.
-
Let the paint dry completely (1-2 hours), then apply a second coat if needed for better coverage.
Method 2: Heat Transfer Printing (Best for Detailed Designs)
Heat transfer is a great option if you want sharp, detailed designs (like logos or photos) without investing in professional equipment. It works best for small to medium batches.
-
Design your image using graphic design software (Canva, Photoshop, etc.). Make sure the design is the correct size for your tin can.
-
Print the design on specialty heat transfer paper (choose paper designed for metal—this is different from fabric transfer paper).
-
Preheat your heat press to 350°F (175°C) and let it warm up completely.
-
Place the transfer paper on the prepped tin can, making sure it’s aligned correctly. Cover the paper with a thin cloth (to protect the design) and press down with the heat press for 30-60 seconds (follow the transfer paper’s instructions).
-
Let the can cool completely, then peel off the transfer paper to reveal your design.
Method 3: Screen Printing (Best for Professional, Large Batches)
Screen printing is the go-to method for businesses or anyone printing large quantities of tin cans. It produces vibrant, durable prints that can withstand wear and tear.
-
Create a stencil of your design using a screen printing emulsion and a light source (this is called “burning” the screen).
-
Secure the screen over the prepped tin can, making sure it’s tight and aligned.
-
Apply screen printing ink (designed for metal) to the top of the screen. Use a squeegee to pull the ink across the screen, pressing firmly to ensure the ink seeps through the stencil onto the can.
-
Lift the screen carefully and let the ink dry completely (follow the ink’s instructions—usually 1-2 hours).
-
For a more durable finish, cure the ink using a heat gun or conveyor dryer (follow the ink manufacturer’s temperature guidelines).

Step 4: Apply a Finish (Protect Your Print)
No matter which printing method you use, applying a clear finish is essential to protect your design from scratches, fading, and moisture. This step will make your print last longer, especially if the tin can is used for packaging or outdoor projects.
-
Spray Sealer: Hold a can of clear acrylic sealer 6-8 inches away from the tin can and spray evenly, covering the entire printed surface. Let it dry for 30 minutes, then apply a second coat for extra protection.
-
Brush-On Sealer: If you prefer a more controlled finish, use a small brush to apply clear acrylic sealer. Apply thin, even coats and let each coat dry completely before adding the next.
Pro Tip: Use a matte sealer for a subtle, professional look, or a glossy sealer for a shiny, eye-catching finish.
Pro Tips for Perfect Tin Can Printing
-
Test your design on a scrap piece of tin first to ensure the ink adheres well and the colors are correct.
-
Work in a well-ventilated area, especially when using spray primer, sealer, or screen printing ink.
-
Avoid printing on curved areas of the can (like the top or bottom) if possible—flat surfaces produce cleaner, more even prints.
-
If using screen printing, make sure the screen is tight to avoid ink bleeding under the stencil.
-
Let each layer (primer, ink, sealer) dry completely before adding the next—rushing this step will ruin your print.
Common Problems & How to Fix Them
-
Print Peeling Off: This is usually due to insufficient surface prep. Make sure you degrease the can thoroughly and apply a primer if needed.
-
Smudged Ink: The ink is too wet, or you’re touching the design before it dries. Let the ink cure completely before handling the can.
-
Uneven Coverage: The ink is too thick, or the screen (for screen printing) is not pressed evenly. Use thinner ink coats and apply consistent pressure with the squeegee.
-
Fading Colors: The ink is not designed for metal, or you skipped the sealer. Use ink specifically formulated for metallic surfaces and apply a clear sealer.

Final Thoughts
Printing on tin cans is a fun and rewarding project that can be adapted to any skill level. Whether you’re creating custom packaging for your business, personalized gifts, or DIY decor, following these steps will ensure your prints are vibrant, durable, and professional-looking. Remember: the key to success is proper surface preparation—don’t skip that step! With a little practice and the right tools, you’ll be printing perfect tin cans in no time.
Have you tried printing on tin cans before? Share your tips and projects in the comments below—I’d love to see what you create!

Small Tin Cans: The Unsung Heroes of Versatility and Creativity
Cookies in a Tin Box: The Timeless Way to Preserve Freshness, Charm, and Joy