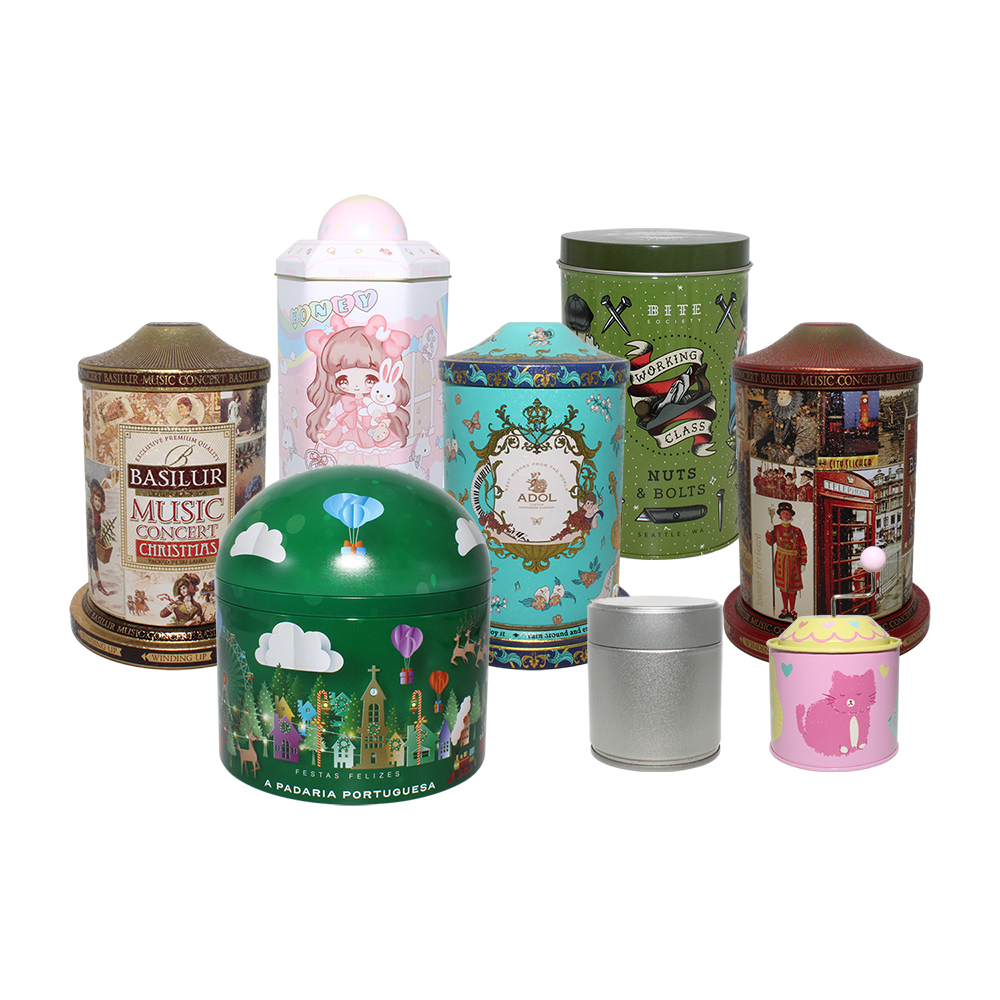
Painting Tin Cans: Easy DIY Upcycling Craft for Stunning Home Decor

Painting Tin Cans: Easy DIY Upcycling Craft for Stunning Home Decor
In a world focused on sustainable living and zero-waste lifestyles, upcycling ordinary household items has become one of the most popular DIY trends. Among countless beginner-friendly craft projects, painting tin cans stands out as a simple, affordable, and highly rewarding activity. Empty food cans, coffee cans, and snack tins that you would normally throw away can be transformed into chic, functional home decor with just a few coats of paint and a little creativity. Whether you are a craft newbie, a parent looking for kid-friendly activities, or a home decor lover hunting for unique budget pieces, painting tin cans is the perfect project to try.

Why Choose Painting Tin Cans for Your Next DIY Project
Before diving into the tutorial, let’s explore why painted tin can crafts are worth your time. Unlike complicated DIY decor projects that require expensive tools and professional skills, this craft boasts three core advantages.
First, it is ultra-budget-friendly. Tin cans are free waste materials, and you only need basic craft supplies like paint, primer, and brushes that most households already own. There is no need to splurge on pricey home decor.
Second, it features low difficulty and high flexibility. The smooth metal surface of tin cans is easy to paint on, and there are no strict rules for designs. You can create minimalist solid-color styles, cute hand-drawn patterns, vintage distressed textures, or modern geometric looks according to your preference.
Third, it achieves perfect sustainable upcycling. Repurposing waste tin cans reduces household garbage and extends the service life of daily items. Every painted tin can is a small step toward an eco-friendly lifestyle, combining environmental protection and aesthetic creation.

Essential Supplies for Painting Tin Cans
To get a smooth, long-lasting painting result, preparing the right supplies is essential. All items are easy to find in craft stores or online, and most are reusable for future projects.
-
Clean empty tin cans: Choose cans of different sizes for diverse uses. Make sure there are no dents or sharp edges; file down rough rim edges with a nail file for safety before painting.
-
Cleaning tools: Warm soapy water, cleaning cloths, and white vinegar. These remove grease, sticker residue, and dust from the metal surface to ensure strong paint adhesion.
-
Sanding tools: Fine-grit sandpaper or steel wool. Light sanding gently roughens the sleek metal surface and prevents paint from peeling or chipping later.
-
Primer: Metal gesso or spray primer specially designed for metal surfaces. Primer delivers a flawless base by covering the original metallic tone and boosting paint adhesion.
-
Paint: Acrylic craft paint for hand painting or spray paint for uniform full coverage. Acrylic paint is ideal for detailed patterns, while spray paint works better for smooth, even base coats.
-
Finishing supplies: Clear acrylic varnish or Mod Podge. This final seal protects your painted design from scratches, water spots, and fading, significantly extending your craft’s lifespan.
-
Decorative accessories (optional): Masking tape, stickers, twine, and dried leaves for creating stripes, hollow-out patterns, or textured decorations.

Step-by-Step Guide to Painting Tin Cans Perfectly
Follow this detailed step-by-step tutorial, and you can get professional-level painted tin cans even if you are a beginner.
Step 1: Thoroughly Clean and Dry the Cans
First, remove all paper labels from the tin cans. Soak the cans in warm soapy water for 10–15 minutes to soften sticker residue and grease, then scrub the surface thoroughly. For stubborn grease, wipe the surface with a little white vinegar. After cleaning, dry the cans completely—you can air-dry them naturally or use a hair dryer for quick drying. Any leftover moisture or dust can cause paint to bubble, peel, or fail to adhere properly.
Step 2: Sand the Surface for Better Adhesion
buffexiorturnTin metal is non-porous by nature, which makes it difficult for paint to grip firmly without preparation. Gently polish the entire outer surface of the can with fine-grit sandpaper or steel wool until the surface becomes slightly matte. Wipe off all sanding dust with a clean dry cloth after polishing.
Step 3: Apply a Uniform Primer Coat
Primer is an indispensable step for painting metal. Evenly apply a thin layer of metal primer or gesso on the cleaned and sanded can surface. If using spray primer, hold the can 15–20 cm away to avoid paint buildup and drips. Let the primer dry completely according to the product instructions. A solid primer coat ensures vivid, even topcoat coverage and prevents underlying metal tones from showing through.
Step 4: Paint Your Base Coat and Patterns
Once the primer is dry, start painting the base color. For hand-painting, apply 2–3 thin coats of acrylic paint rather than one thick coat to avoid visible brush strokes and cracking. Let each layer dry fully before applying the next one. For a faster, smoother effect, use spray paint for the base coat.
After the base coat dries, you can start personalized creation. You can use masking tape for crisp geometric stripes and grids, apply star or floral stickers for stencil-style hollow designs, or freely hand-letter quotes and draw cartoon or rustic motifs. You can also try the vintage distressed style: after the paint dries, gently polish the edge of the can with sandpaper to expose a little primer and metal texture.
Step 5: Seal with a Protective Topcoat
Once your painted design is fully dry, apply a clear coat of acrylic varnish or Mod Podge over the surface. This sealing layer acts as a waterproof, scratch-resistant, and anti-fading barrier. This finish makes your painted tin cans durable enough for long-term indoor and mild outdoor use. Let the varnish dry overnight to complete the whole craft process.

Creative Usage Ideas for Painted Tin Cans
The charm of painting tin cans lies in both the creation process and the diverse practical uses of the finished works. Here are versatile ways to display your painted tin cans:
1. Desktop Organizers
Medium-sized painted tin cans are perfect pen holders and stationery organizers. They can store pens, pencils, erasers, paper clips, and rulers, keeping your desktop tidy and adding a personalized artistic touch to your study or office.
2. Mini Plant Planters
Drill a few small drainage holes in the bottom of larger cans to turn them into one-of-a-kind planters perfect for succulents, herbs, and small potted blooms. Colorful painted tin can planters are ideal decorations for window sills, balconies, and living room shelves.
3. Home Decor Centerpieces
Match multiple tin cans of different sizes and colors to form a set of decorations. Place dried flowers, fresh bouquets, or candle lights inside them as dining table and coffee table centerpieces. Vintage and pastoral-style painted cans are especially suitable for rustic and cottage-style home decor.
4. Festival & Party Decorations
Create festival-themed designs: red-and-green palettes for Christmas, star motifs for holiday celebrations, and bright, cheerful color schemes for summer gatherings. Painted tin cans can be used as festive lanterns, gift holders, or scene decorations.
5. Kitchen Storage Containers
Once fully sealed and water-resistant, your painted cans neatly store tea bags, spices, and small tableware for organized kitchen storage.

Pro Tips for Better Painting Results
To help you avoid common DIY mistakes and create more exquisite works, here are practical tips:
-
Always apply thin paint layers. Thick paint easily drips, bubbles, and cracks, while several thin coats deliver a smooth, even finish.
-
Paint in a dry, well-ventilated environment. Humid air will affect paint drying and cause uneven coloring.
-
Do not skip primer and topcoat. These two critical steps determine paint adhesion and long-term durability on metal surfaces.
-
Match colors with your home decor style. Neutral solid colors fit minimalist styles, while bright patterns and retro textures suit warm pastoral and artistic styles.

Final Thoughts
Painting tin cans is more than just a simple DIY craft—it is a wonderful way to discover beauty in trivial life and practice sustainable living. A discarded tin can, after careful cleaning, painting, and decoration, gets a brand-new life and becomes a unique home decoration that cannot be bought in stores.
This project requires no professional skills or costly supplies, yet it delivers an incredible sense of accomplishment and relaxation. Whether you spend an afternoon making it alone or create it with your family and kids, painting tin cans is a relaxing and healing activity. Next time you’re about to toss empty tin cans, grab a paintbrush, upcycle waste into beautiful decor, and add one-of-a-kind artistic warmth to your space!

Metal Tin Storage Box: The Ultimate Durable & Versatile Storage Solution for Every Space
Metal Storage Tin: The Timeless, Eco-Friendly, and Versatile Storage Solution